

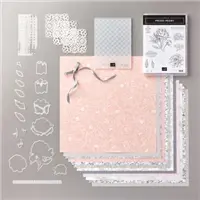
#tgifc268! It’s been awhile since I have been able to design for a TGIF Challenge, but I made some time today. I got an order today that contained the Peony Garden Suite Bundle and I just had to make a card.
When I found that the Peony Dies had an edge die, I was even more excited at how perfect this bundle fit into this challenge.


Use a Stampin’ Up! Paper Trimmer to cut a piece of Whisper White Thick Cardstock to 5 1/2 x 8 1/2. Score and fold at 4 1/4.
Zip the card through a die-cutting and embossing machine placing the edge die 1″ in from the edge of the card stock.
Cut a piece of Peony Garden Designer Series Paper to 3 1/4 x 5 1/2. Adhere as shown with Stampin’ Seal Adhesive.
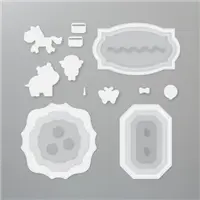
Crop a piece of Whisper White Cardstock using a die-cutting machine and the largest die from the Hippo & Friends Dies. Zip it through a embossing machine tucked inside the Dainty Diamonds 3D Embossing Folder.
Fold a piece of Gray Granite 1/4″ Shimmer Ribbon in half and staple it to the upper left corner of the label. Adhere to the card with Stampin’ Dimensionals.
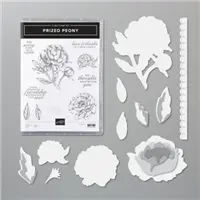
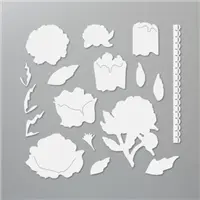
Crop Petal Pink, Gray Granite and Basic Gray Cardstock using the Peony Dies. Assemble and adhere together and to the card with Stampin’ Dimensionals.
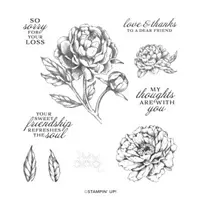
Stamp the sentiment in Versamark Ink onto a piece of Basic Gray Cardstock. Use a Paper Trimmer to cut to size. Adhere with Stampin’ Dimensionals.
Adhere a piece 4 1/4 x 5 1/2 piece of Peony Garden Designer Series Paper to the inside of the card with Stampin’ Seal Adhesive.
Add three Clear Elegant Faceted Gems to the card as shown.

Easily line up the peony pieces by adhering all the pieces together where they line up the same at the bottom of the flower. Each piece tucks inside the slit of the larger piece. It’s easier than it looks!


Looking for a fabulous deal? From June 3-30, you get an additional FREE BUNDLE of your choice in a $99 Starter Kit! Email me with questions, I am happy to help!

HAVE A BIG WISH LIST? DON’T MISS THE STAMPIN’ REWARDS PRODUCT BONUS! June 3 – 30, 2020!
Place an order of $250 or more and earn a $25 PRODUCT BONUS! YAY! Who doesn’t love free stuff!


So very, very beautiful. Lovely layers on that eye-popping flower. The background is perfect too.
Beautiful card! My peony garden suite is due arrive on Monday and I am anxious to use it. Thanks for sharing.
Wow Stesha! The Peony really is the star of this card. Gorgeous layering!