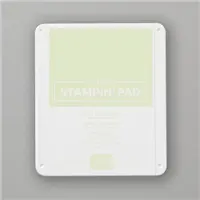
Today I am sharing a trio of cards that I created for Stampin’ Up! to share on the corporate Facebook Page as part of the Artisan Design Team. The Splendid Thoughts Suite Collection is absolutely GORGEOUS and I loved using all the elements I was given. Soft Sea Foam is one of my favorite colors from Stampin’ Up!, so I went all in with it. It was a bugger to photograph to get its true color, but I hope that I captured it well enough for you to see its beauty and shimmer.

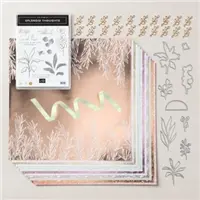
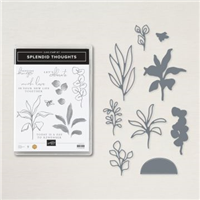
SPLENDID DAY SUITE COLLECTION | Item 159681 | $82..25
Product colors: Calypso Coral, Fresh Freesia, Petal Pink, Pool Party, Sahara Sand, Soft Sea Foam

This is the perfect time for me to share this suite as the Splendid Day 12 x 12 Specialty Designer Series Paper is part of the Stampin’ Up! Week One Deals. Until September 7, you can snag this beautiful paper for just $12.00 (a savings of $3.00 per pack).
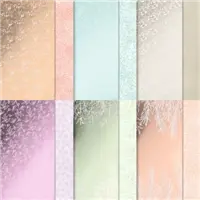
Sale: $12.00
Price: $15.00

HOOT-a-RIFFIC TUTORIAL:
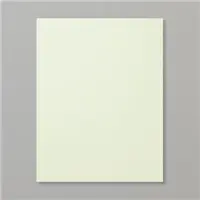
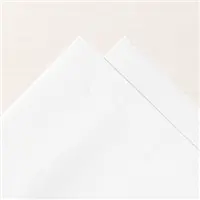
Begin by cutting a piece of Soft Sea Foam Cardstock to 8 1/2 x 7. Score and fold at 3 1/2.
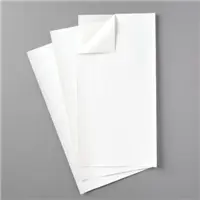
Use a Stampin’ Cut & Emboss Machine to crop several of the leaves from a piece of Soft Sea Foam Cardstock that has been adhered to an Adhesive Sheet. Remove the backing and adhere to the edge of the card base as shown.
Adhere a 7 3/4 x 2 3/4 piece of Splendid Day Specialty Designer Series Paper to a 8 x 3 piece of Basic White Cardstock. OPTIONAL: Use a Blending Brush to add Soft Sea Foam Classic Ink to the layer as shown starting from the bottom left corner to the top right, staying in the middle. Adhere to the card with Stampin’ Dimensionals.
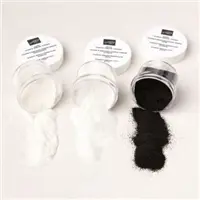
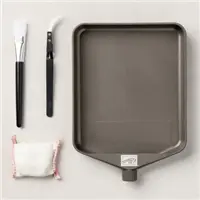
Rub a piece of Vellum Cardstock with the embossing buddy (part of the Embossing Additions Tool Kit). Stamp the sentiment in Versamark Ink onto the Vellum. Cover with White Embossing Powder and set with a Heat Tool.

Crop the sentiment with the 3″ circle from the Stylish Shapes Dies. Use the same 3″ circle with the next size smaller (2 1/2) circle die nested inside to crop a piece of Basic White Cardstock that has been adhered to an Adhesive Sheet. Remove the adhesive backing from the circle die-cut and adhere to the vellum as shown. Cut a thin strip from the outside edge of a sheet of Stampin’ Dimensionals. Adhere it to the bottom of the Basic White edge, then adhere to the card.
Adhere a die-cut leaf of Basic White Cardstock, as well as two Open Leaf Trinkets, to the card as shown with Mini Glue Dots.
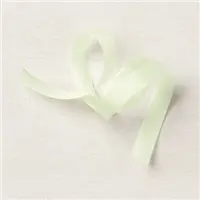
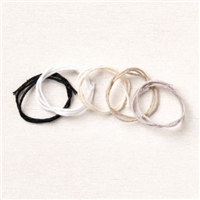
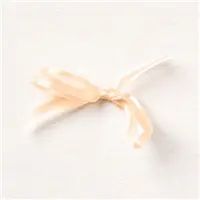
Cut a piece of Soft Sea Foam 3/8″ Seam Binding Ribbon in half. Combine the cut ribbon into 4 pieces and add White Baker’s Twine, then tie in a bow. Adhere with Mini Glue Dots.
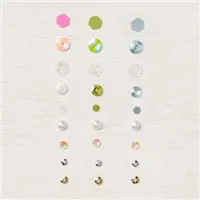
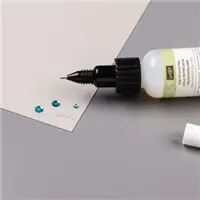
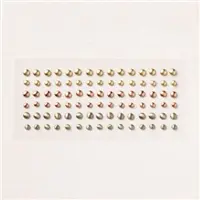
Embellish with For Everything Fancy Sequins (adhered with a Fine-Tip Glue Pen).

Begin by cutting a piece of Soft Sea Foam Cardstock to 4 1/4 x 11. Score and fold at 5 1/2.
Use the Stylish Shapes 3″ circle die with the next size smaller (2 1/2) circle die nested inside to crop a 4 x 5 1/4 piece of Basic White Cardstock that has been adhered to an Adhesive Sheet. (Save the cropped circle for the next card).
Stamp the Basic White layer with the Splendid Thoughts Stamp several times in Soft Sea Foam Classic Ink. Let dry completely. Rub with an Embossing Buddy. Stamp again in Versamark Ink with the Splendid Thoughts Stamp. Cover with White Embossing Powder. Set with a Heat Tool.
Remove the adhesive backing and adhere a 3 1/4 x 3 1/4 piece of Splendid Day Specialty Paper behind the negative die-cut space as shown, then to the card base. Adhere the die-cut circle frame as shown. (I added a half circle of vellum as well, which is optional.
OPTIONAL: Use a Blending Brush to add Soft Sea Foam Classic Ink to the layer as shown starting from the bottom right corner to the top left staying in the middle.

Adhere a die-cut leaves of Basic White Cardstock, as well as two Open Leaf Trinkets, to the card as shown with Mini Glue Dots.
Rub a piece of Vellum Cardstock with the embossing buddy (part of the Embossing Additions Tool Kit). Stamp the sentiment in Versamark Ink onto the Vellum. Cover with White Embossing Powder and set with a Heat Tool. Crop both the Vellum and a piece of Soft Sea Foam Cardstock with the Splendid Stems Die. Adhere together with dabs of Multipurpose Liquid Glue. Adhere to the card with Stampin’ Dimensionals.
Cut a piece of Soft Sea Foam 3/8″ Seam Binding Ribbon in half. Combine the cut ribbon into 2 pieces and add White Baker’s Twine, then tie in a bow. Adhere with Mini Glue Dots.
Embellish with For Everything Fancy Sequins (adhered with a Fine-Tip Glue Pen).

HOOT-a-RIFFIC TUTORIAL:
Cut a piece of Soft Sea Foam Cardstock to 4 1/4 x 8 1/2. Score at 4 1/4.
Adhere a 3 1/4 x 3 1/4 square of Splendid Day Specialty Designer Series Paper to a 3 1/2 x 3 1/2 square of Basic White Cardstock together and to the card with Multipurpose Liquid Glue.
Crop a piece of Vellum Cardstock with the Stylish Shapes 3″ Circle Die. Adhere to the card with Multipurpose Liquid Glue.
Crop the leaf die-cut from the center of the circle die-cut from the previous card. Adhere as shown with Stampin’ Dimensionals.
Rub a piece of Soft Sea Foam Cardstock with the embossing buddy (part of the Embossing Additions Tool Kit). Stamp the sentiment in Versamark Ink. Cover with White Embossing Powder and set with a Heat Tool. Crop with the Stylish Shapes 3″ Circle Die. Adhere with Multipurpose Liquid Glue.
Cut a piece of Soft Sea Foam 3/8″ Seam Binding Ribbon in half. Combine the cut ribbon into 2 pieces and add White Baker’s Twine, then tie in a bow. Adhere with Mini Glue Dots.
Embellish with For Everything Fancy Sequins (adhered with a Fine-Tip Glue Pen).

[sc name=”blogend” ][/sc]


Sale: $12.00
Price: $15.00