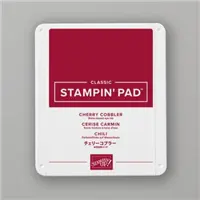
Today I am sharing two cards that I created for Stampin’ Up! to share on the corporate Facebook Page as part of the Artisan Design Team. The Mistletoe Magic Bundle is absolutely GORGEOUS and I decided to showcase the different looks you get by using the stamped image versus the die-cut image. I kept the colors traditional for Christmas cards – Mossy Meadow and Cherry Cobbler.
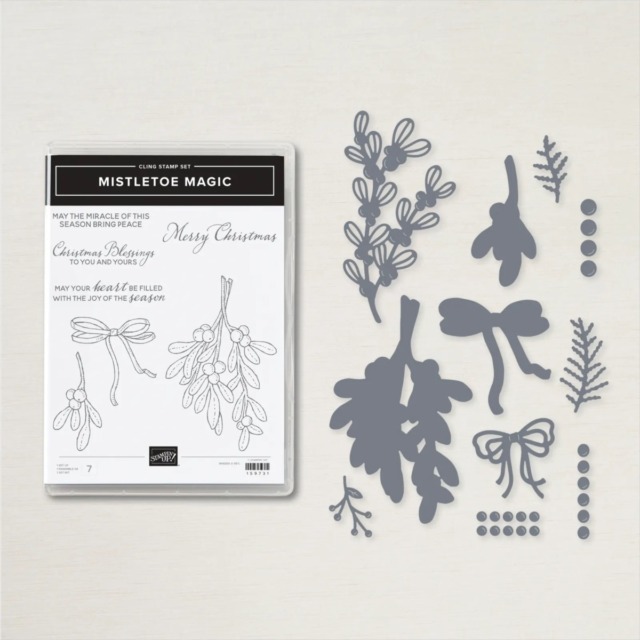
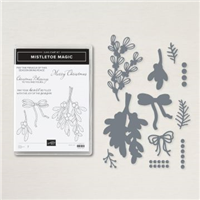
MISTLETOE MAGIC BUNDLE | Item 159737 | $47.50
It’s all berries, bows, and mistletoes when you craft with the Mistletoe Magic Bundle. The stamps and dies work together seamlessly to make quick and easy mistletoe groupings you can use to adorn cards, gift tags, and scrapbook pages with the classic elegance of the season.
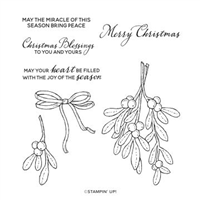
MISTLETOE MAGIC CLING STAMP SET
Send your love to someone special with the Mistletoe Magic Stamp Set. The heartfelt greetings and mistletoe images are perfect for handmade Christmas cards and gift tags. Stamp several mistletoe images together to make a grouping, then tie it all off with a lovely bow. The line-art images can be customized with your favorite Stampin’ Up! coloring technique. Finish it off with one of four seasonal sentiments for the perfect greeting.
MISTLETOE DIES
Quickly and easy create intricate cutout mistletoe pieces with the Mistletoe Dies. This set includes all the dies you need to create a dimensional mistletoe grouping. Layer the greenery until you have it just the way you like, then complete the look with berries and a bow for a stunning look they’re sure to love!

HOOT-a-RIFFIC TUTORIAL:
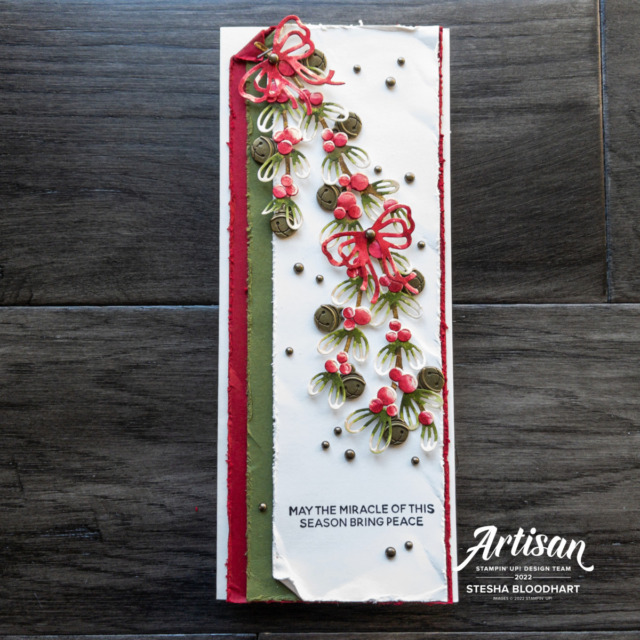
Begin by cutting a piece of Shimmery White Cardstock to 8 1/2 x 7. Score and fold at 3 1/2.
Distress the edges of a 3 1/4 x 8 1/2 piece of Cherry Cobbler Cardstock and a 3 x 8 1/2 piece of Mossy Meadow Cardstock. Adhere together as shown with Multipurpose Liquid Glue.
Distress the edges of a 2 1/2 x 8 1/2 piece of Shimmery White Cardstock. Stamp the sentiment in Tuxedo Black Memento Ink about 1″ up from the bottom. Adhere as shown with Multipurpose Liquid Glue.
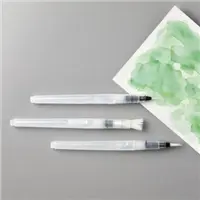
Use a Stampin’ Cut & Emboss Machine to crop two detailed mistletoes, two bows, and two sets of berries from a piece of Shimmery White Cardstock. Add the color with a Water Painter, Mossy Meadow and Cherry Cobbler Classic Ink. WATERCOLOR TIP! Start by adding very minimal color to the entire die-cut. Let dry, then add more color, in layers, near the top as shown.
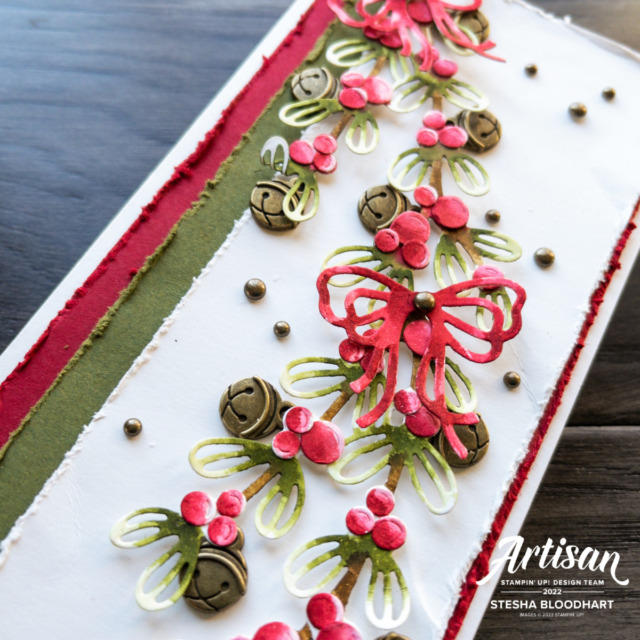
Layer and adhere together with Mini Glue Dots. Adhere to the card with strategically placed Mini Stampin’ Dimensionals.
Fold the top left corner of the three layers over and staple in place. Adhere to the card base with Multipurpose Liquid Glue.
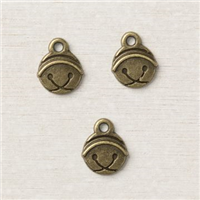
Embellish with Flat Jingle Bell Trinkets (adhered with Mini Glue Dots) and Rustic Metallic Adhesive-Backed Dots.

HOOT-a-RIFFIC TUTORIAL:
Begin by cutting a piece of Shimmery White Cardstock to 4 1/4 x 11 Score and fold at 5 1/2.
Distress the edges of a 4 x 5 1/2 piece of Cherry Cobbler Cardstock and a 3 3/4 x 5 1/2 piece of Mossy Meadow Cardstock. Adhere together as shown with Multipurpose Liquid Glue.
Distress the edges of a 2 1/2 x 8 1/2 piece of Shimmery White Cardstock. Stamp the sentiment in Tuxedo Black Memento Ink about 3/4″ up from the bottom. Adhere as shown with Multipurpose Liquid Glue.
Stamp the large mistletoe branch, two small mistletoe branches and one bow in Tuxedo Black Memento Ink onto Shimmery White Cardstock. Use a Stampin’ Cut & Emboss Machine to crop with the coordinating Mistletoe Dies. Add the color with a Water Painter, Mossy Meadow and Cherry Cobbler Classic Ink. WATERCOLOR TIP! Start by adding very minimal color to the entire die-cut. Let dry, then add more color, in layers, near the top as shown.

Layer and adhere together with Mini Glue Dots. Adhere to the card with strategically placed Mini Stampin’ Dimensionals.
Fold the top left corner of the three layers over and staple in place. Adhere to the card base with Multipurpose Liquid Glue.
Embellish with Flat Jingle Bell Trinkets (adhered with Mini Glue Dots) and Rustic Metallic Adhesive-Backed Dots.
$10 in FREE HOOT LOOT for APRIL
If you spend $50+ (in one order with the current host code), you earn $10 in FREE HOOT LOOT!
During the month of APRIL 2024 place an online store order valued at $50 or more (before shipping and tax), enter the host code PPGR6EGY, and choose an ITEM(S) of your choice** valued at $10 or less!
Important Info: The FREE Hoot Loot is mailed separately from your order and will arrive mid-month following the month earned. SEE EXCLUSIONS BELOW!
- **Excludes the following items (NEW EXCLUSIONS):
- CARDSTOCK – (SORRY, SHIPPING IS TOO HIGH)
- GRID PAPERS – (SORRY, SHIPPING IS TOO HIGH)
- CLEARANCE ITEMS
- LAST CHANCE ITEMS
- Once you submit your order, PLEASE FILL OUT THIS FORM requesting your choice of Hoot Loot!
- The deadline to earn APRIL’s Hoot Loot is APRIL 30, 10 PM CST.
- LIMIT 1 HOOT LOOT Redemption per customer, per month!
There you go! It’s that easy to earn FREE Hoot Loot from Stampin’ Hoot! Got a question? Email me and I will get back to you with an answer ASAP!


