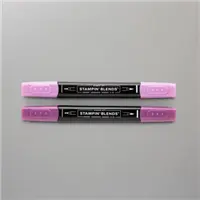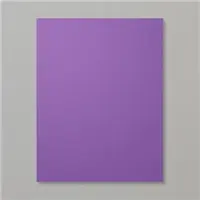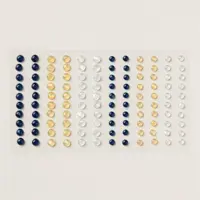
Need a little Hocus Pocus in your life? The Potions & Spells Bundle (an online exclusive from Stampin’ Up!) gives you that and more! This DIY Halloween Cauldron Card was colored using Stampin’ Blends, alcohol markers from Stampin’ Up! Keep reading for oodles of Stampin’ Blends Tips & Tricks!

online exclusive – potions & spells bundle
“Double, double toil and trouble!” Get your witch on with the Potions & Spells Bundle! This bundle has coordinating Halloween stamps and dies, perfect for card making, gift tags, treat packaging, and more. Put together the perfect spooky scene for all your Halloween crafts!
Stampin’ Blends Tips: DIY Halloween Cauldron Card
1. Blending for a Bubbling Cauldron Effect
- Use various shades of purples to create a bubbling potion look in the cauldron. Start with a darker purple (e.g., Dark Blackberry Bliss) for the edges, then blend in lighter purples (e.g., Light Gorgeous Grape). For contrast, use darker purples or black around the edges of the cauldron bubbles to create depth.
2. Add a Glowing Effect
- To make your cauldron pop, add highlights with a touch of yellow (e.g. Daffodil Delight) or lime green (e.g. Lemon-Lime Twist) to give it a glowing effect.
3. Highlight and Shading for a Metallic Cauldron
- If you’re going for a metallic cauldron look, use dark grey or black tones (like Basic Black or Dark Smoky Slate) for the cauldron’s body. Add highlights by blending in lighter shades like Light Smoky Slate or use a Color Lifter in areas where light would naturally hit (e.g., the rim or side facing the light). To give it a more worn look, use a hint of bronze or brown tones at the edges.
These techniques will give your Halloween cauldron card a professional, spooky finish!
potions & spells: a spooky color combination
hoot-a-riffic
color combination:
- basic black
- smoky slate
- blackberry bliss
- gorgeous grape
- daffodil delight


card tutorial: make this diy halloween cauldron card
- Begin with a 4 1/4 x 11 piece of Basic White Thick Cardstock. Score and fold at 5 1/2 (portrait style card).
- Adhere a 4 1/8 x 5 3/8 piece of Gorgeous Grape Cardstock to the card base with Multipurpose Liquid Glue.
- Add a “glow” of Daffodil Delight to a 4 x 5 1/4 piece of Basic White Cardstock with a Blending Brush as shown.
- Stamp the sentiment in Tuxedo Black Memento Ink, approximately 1 1/4″ from the top.

- Stamp the books, bubbles & cauldron (Potions & Spells Stamp Set) in Tuxedo Black Memento Ink onto Basic White Cardstock.
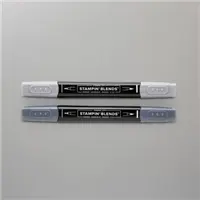
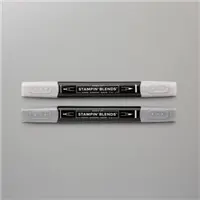
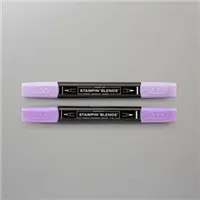
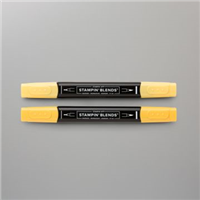
- Color the cauldron with the following Stampin’ Blends Combo Packs: Basic Black, Smoky Slate, Daffodil Delight, Highland Heather, and Blackberry Bliss.
- I used Paper Snips to cut out my images, but by all means… use the coordinating Potions and Spells dies. That’s what they were made for!
- Adhere to the card with Stampin’ Dimensionals.
- Embellish with Daffodil Delight Opal Rounds (from the Assortment Pack).
download a free tutorial and make this DIY halloween cauldron card:
All You Need to Know About Stampin’ Blends!
What are Stampin’ Blends?
Stampin’ Blends by Stampin’ Up! are high-quality alcohol-based markers designed specifically for blending and shading to achieve vibrant, smooth coloring without streaks. Here’s an overview of their 7 key features and uses:
1. Dual-Tip Design
- Each Stampin’ Blends marker has two tips:
- Brush Tip: Ideal for coloring large areas and creating smooth gradients.
- Fine Tip: Perfect for adding details and working in tight spaces.
- The dual-tip design provides versatility for different crafting techniques, whether you’re coloring in large images or focusing on intricate details.
2. Alcohol-Based Ink
- Stampin’ Blends use alcohol-based ink, which allows for seamless blending and shading without the harsh lines often left by water-based markers. This makes them perfect for creating smooth gradients, highlights, and shadows.
- The ink is quick-drying, which minimizes smudging, but it still gives you enough time to blend colors smoothly before it sets.
3. Variety of Colors
- Stampin’ Blends are available in a wide range of coordinating colors that match Stampin’ Up!’s exclusive color families. Each color is available in light and dark shades, giving crafters flexibility to blend within the same color for seamless transitions or mix colors for more complex shading.
4. Blending and Shading
- The key feature of Stampin’ Blends is the ability to blend colors easily. You can layer the light and dark versions of each color or even blend different colors together for a variety of effects.
- The markers are designed to prevent streaks, ensuring your images have a professional, polished finish.
5. Use with Stamps and Coloring Projects
- These markers are perfect for coloring stamped images, creating backgrounds, and adding personalized touches to handmade cards, scrapbook pages, and other paper crafts. When stamping images to color, it’s important to use a Memento Ink Pad, as it’s alcohol-resistant and prevents the stamped outline from smudging when using alcohol markers.
6. Refills and Longevity
- Stampin’ Blends markers are not refillable, but each marker comes with plenty of ink for various crafting projects. They’re sold in pairs (light and dark shades of the same color), and priced affordably compared to other brands on the market.
7. Versatile Applications
- Apart from paper, Stampin’ Blends work on a variety of surfaces like vellum, acetate, and even embellishments. You can color rhinestones, pearls, or other embellishments to match your project perfectly.
Stampin’ Blends offer crafters an easy way to achieve professional results with coloring and shading, making them a go-to tool for card-making, scrapbooking, and other paper crafting projects.


