

I absolutely loved the slimline card that I created a few weeks ago so I decided to create and share a masculine version of it. I love a yellow and gray color combination and that helped me in creating and finalizing this card.


Slimline Card:
Begin with a 8″ x 8 1/2″ piece of Basic White Cardstock. Score and fold at 4″.
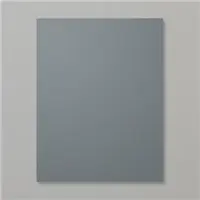
Adhere a 1 1/2 x 7 1/4 piece of Basic Gray Cardstock to the card base with Multipurpose Liquid Glue.
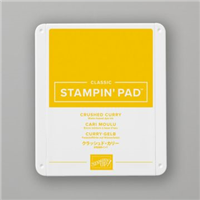
Use a Blending Brush along with Crushed Curry Classic Ink to create an ombré effect on a 2 1/2 x 6 piece of Basic White Cardstock. Adhere to the card base with Multipurpose Liquid Glue.
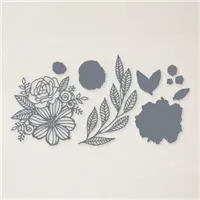
Use a Stampin’ Cut & Emboss Machine (Standard or Mini), Artistic Die, and Basic Gray Cardstock to crop the frond. Adhere with Mini Glue Dots that have been rolled between your fingers so they can remain hidden behind the die-cut.
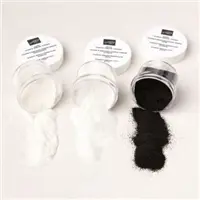
Stamp the sentiment in Versamark Ink onto a 2 1/4 x 1/2 piece of Basic Gray Cardstock. Cover with White Basics Stampin’ Emboss Powder. Set with a Heat Tool. Adhere with Multipurpose Liquid Glue.
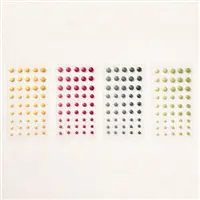
Embellish with Matte Decorative Dots.
NEED AN ENVELOPE? Make your own! Slimline Envelope:
Begin by cutting a piece of Simply Elegant Specialty Designer Series Paper to 9 1/8 x 11.
Score the 9 1/8″ side at 2″ and 6 1/8″.
Score the 11″ side at 1 1/4″ and 10″.
Remove the four corners with Paper Snips by following the score lines.
Assemble and adhere at overlays.
Creating your own SLIMLINE envelope is pretty easy. I make them for all my slimline cards, but you can also use a Business #10 envelope if you want.

The template to create your own envelope to tuck your slimline card inside is shown above. You can click on the image to download the PDF to print and keep it as a reference.

What color combination is your favorite? You can see my previous slimline card that I created and shared on my blog post here.

[sc name=”blogend” ][/sc]











I love your Artistically Inked cards.