
Welcome to the August 2019 Artisan Blog Hop!
The Stampin’ Up! 2019 Artisan Design Team has so many amazing creations for you to see! I hope that you take the time to check out all 16 blogs! This blog hop will feature creations using the Shimmer Detailed Laser-Cut Specialty Paper from the 2019-2020 Annual Catalog.
My trio of bridal/wedding creations were inspired by a birthday invitation that I received in the mail the day that I sat down to create! It was gorgeously done in blues, grays, and roses…I just had to give it a shot.

The wedding card above was created as follows:
1) Cut a piece of Night of Navy Cardstock to 7 1/8 x 7 1/8. Score and fold at 3 5/8.
2) Smooch a 7 x 3 1/2 piece of Shimmery White Cardstock with Smoky Slate Classic Ink. (You can see my instructions regarding the smooching technique here). Adhere to the card base with Snail Adhesive.
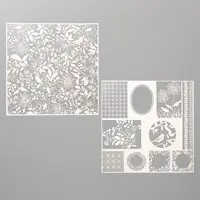
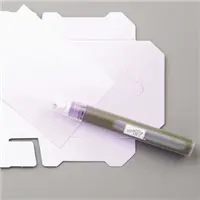
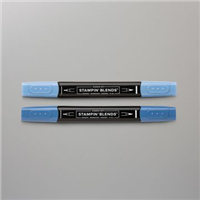
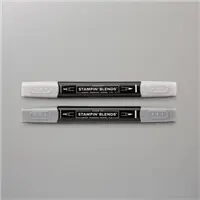
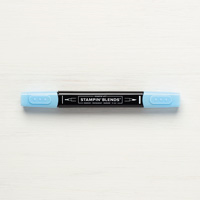
3) Use Paper Snips to cut the sections of the FULL 12 x 12 Shimmer Detailed Laser-Cut Specialty Paper into individual sections. Use the following Stampin’ Blends Markers to color the VANILLA side (not the shimmer): Light & Dark Smoky Slate, Light & Dark Night of Navy, Dark Balmy Blue. Adhere to the card with snipped-to-size Mini Stampin’ Dimensionals.
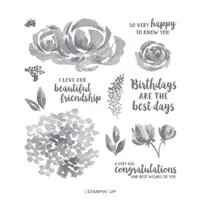
4) Stamp the sentiment (twice) in Versamark Ink onto a piece of Night of Navy Cardstock that has been rubbed with an Embossing Buddy (removes static). Cover with White Stampin’ Emboss Powder, flick to remove the excess and set with a Heat Tool. Snip one full sentiment to size and flag the end with the Tailored Tag Punch. Use Paper Snips to closely trim the “congratulations” of the 2nd stamped sentiment, then adhere as shown with Stampin’ Dimensionals.
5) Use a Dark Night of Navy Stampin’ Blend to color several multi-sized Rhinestone Basic Jewels. Adhere to the card and flowers as shown.

The Shimmer Detailed Laser-Cut Specialty Paper Pack comes as 6 sheets; 3 with a full 12 x 12 design and 3 with distinct patterns that can be cut to size and used as card fronts. My three creations only utilize pieces from the full 12 x 12 design. Several of the Artisan’s in the hop will also showcase designs from the distinct patterns, so be sure to have a peek.
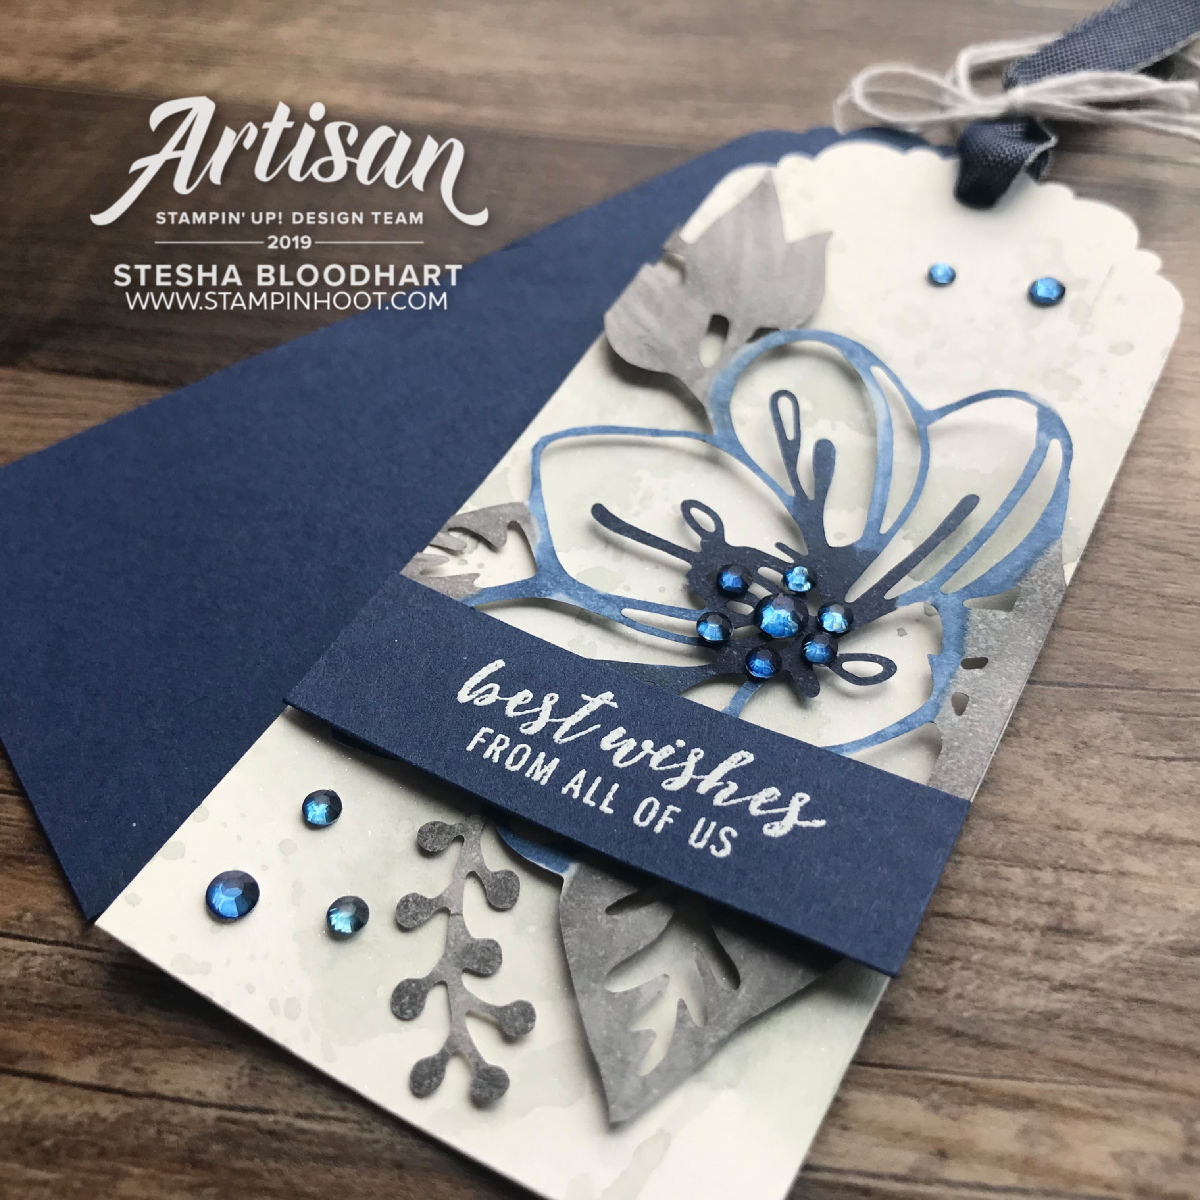

The gift tag above was created as follows:
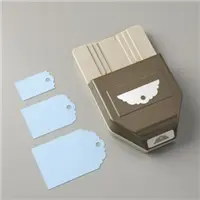
1) Cut a piece of Night of Navy Cardstock & Shimmery White Cardstock to 5 1/4 x 2. Crop the top of both pieces with the Delightful Tag Topper!
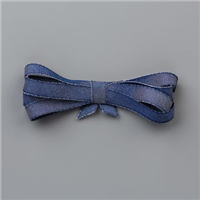
2) Smooch the piece of Shimmery White Cardstock with Smoky Slate Classic Ink. (You can see my instructions regarding the smooching technique here). Thread together with a piece of 3/8 Denim Ribbon that is held in place with a double wrap of Whisper White Solid Baker’s Twine, secured with a bow.
3) Use Paper Snips to cut the sections of the FULL 12 x 12 Shimmer Detailed Laser-Cut Specialty Paper into individual sections. Use the following Stampin’ Blends Markers to color the vanilla side (not the shimmer): Light & Dark Smoky Slate, Light & Dark Night of Navy, Dark Balmy Blue. Adhere to the card with snipped-to-size Mini Stampin’ Dimensionals.
4) Stamp the sentiment in Versamark Ink onto a piece of Night of Navy Cardstock that has been rubbed with an Embossing Buddy (removes static). Cover with White Stampin’ Emboss Powder, flick to remove the excess and set with a Heat Tool. Snip sentiment to 5/8 X 2 size and adhere as shown with Stampin’ Dimensionals.
5) Use a Dark Night of Navy Stampin’ Blend to color several multi-sized Rhinestone Basic Jewels. Adhere to the tag and flowers as shown.


The bridal card above was created as follows:
1) Cut a piece of Night of Navy Cardstock to 5 x 10. Score and fold at 5.
2) Smooch a 4 7/8 x 4 7/8 piece of Shimmery White Cardstock with Smoky Slate Classic Ink. (You can see my instructions regarding the smooching technique here). Adhere to the card base with Snail Adhesive.
3) Use Paper Snips to cut the sections of the FULL 12 x 12 Shimmer Detailed Laser-Cut Specialty Paper into individual sections. Use the following Stampin’ Blends Markers to color the VANILLA side (not the shimmer): Light & Dark Smoky Slate, Light & Dark Night of Navy, Dark Balmy Blue. Adhere to the card with snipped-to-size Mini Stampin’ Dimensionals.
4) Stamp the sentiment in Versamark Ink onto a piece of Night of Navy Cardstock that has been rubbed with an Embossing Buddy (removes static). Cover with White Stampin’ Emboss Powder, flick to remove the excess and set with a Heat Tool. Use Paper Snips to closely trim the sentiment, then adhere as shown with Mini Stampin’ Dimensionals.
5) Use a Dark Night of Navy Stampin’ Blend to color several multi-sized Rhinestone Basic Jewels. Adhere to the card and flowers as shown.
Below is a grid of photos showcasing the creations from the 2019 Artisan Design Team. Be sure to hop along to gain oodles of inspiration for the Come Sail Away Suite of Products.

Click on the name of the Artisan below to visit their blog and see what amazing projects they have created to inspire you!
Angela Meiritz-Reid | Visit Her Blog
Ashley Van Camp | Visit Her Blog
Aurélie Fabre | Visit Her Blog
Jackie Aitken | Visit Her Blog
Jennifer Picard | Visit Her Blog
Kaylee van Es | Visit Her Blog
Lauren Alarid | Visit Her Blog
Maike Beimler | Visit Her Blog
Manuela Geiswinkler | Visit Her Blog
Mikaela Titheridge | Visit Her Blog
Narelle Farrugia | Visit Her Blog
Rochelle Blok | Visit Her Blog
Stesha Bloodhart | Visit Her Blog
Place an online store order valued at $50 or more (before shipping and tax), enter the host code QUBVWS9F and you will earn YOUR CHOICE of ANY Current Item valued at $10 $15 or less! That’s right, an extra $5 during the month of August 2019! Total must be $50 AFTER Bonus Days Coupons have been applied!
Click on the image below, it takes you right to my store so you can begin shopping NOW!
THREE IS BETTER THAN ONE! Become a part of Stampin’ Up!, The Hootenannies, & Mary Fish’s Pals Stamping Community!
- Purchasing the starter kit! Joining Stampin’ Up! includes access to exclusive Stampin’ Up! ideas and resources!
- Purchasing the starter kit and joining through me includes access to the Hootenannies AND the Stampin’ Pretty Pals Pals private Facebook groups and community. Immerse yourself at any level you like in daily stamping discussion, prizes, polls, ideas and inspiration, recognition, friendship, and fun!

Want the Ultimate Bundle, the best deal? During the month of July & August, get $155 worth of product for just $99+ tax and FREE Shipping! Then save 20-25% on future purchases, with no obligation to buy, sell or stay active…do it for the discount and for you!
Have a Hoot-a-Riffic Day!








I absolutely LOVE the colours – all your makes are just beautiful!!! & using the Blends is such a fun way to add the depth of colour to this paper xo
WOW! Your projects are stunning!
These are just GORGEOUS!! Thank you SO much for sharing the details for how to create them.
Thank you for sharing your incredibly gorgeous designs and providing info on how to replicate techniques. You are inspiring! x
Absolutely fantastic love the colours and the concept. Well done x
I love the idea of turning the paper into a different color!
And the rhinestones – Awww! This fits perfectly! So incredible!
Oh wow Stesha. This is perfectly unexpected colour combo but works soo well
Wow! What a beautiful card. Thanks for sharing.
If SU put these photos of your projects into their catalog, they would see sales skyrocket! Such impressive show-stopping designs, layouts and construction!
stunning ……. love it so much
Oh my goodness, that is beautiful! Love how it turned out. Thank you for sharing your talented project!
Oh – you really rock this shimmering paper! Love all of the details!!
Stunning projects Stesha, love everything about them x
What a choice of bold colors Stesha! You surprise me every time in your way of creating and diverting tools, it’s great! I just love it !